Scene-based learning
Real places, carried into the work.
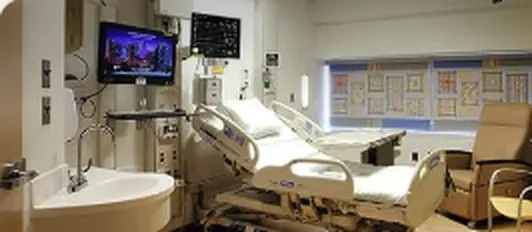
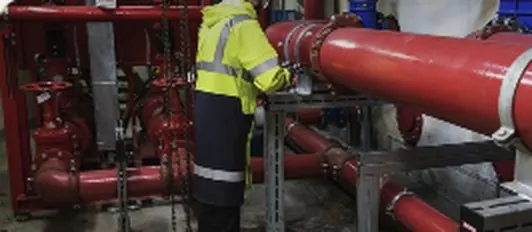
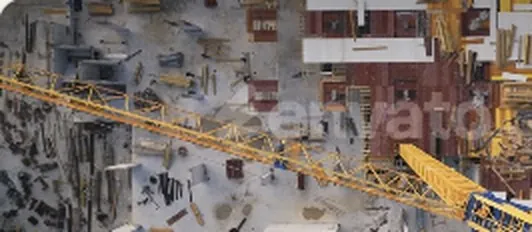
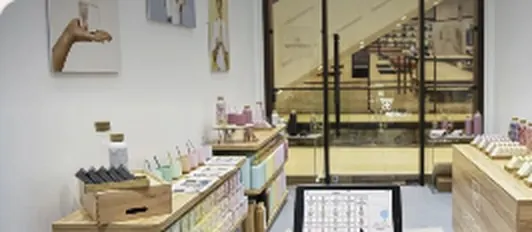
A ward, a studio, a construction site. This is where the learning actually happens. Panova keeps the place in the work: you build the scene once, and students explore it, show what they noticed, and bring back what they saw.
Share it as a link, or embed it wherever your course lives.

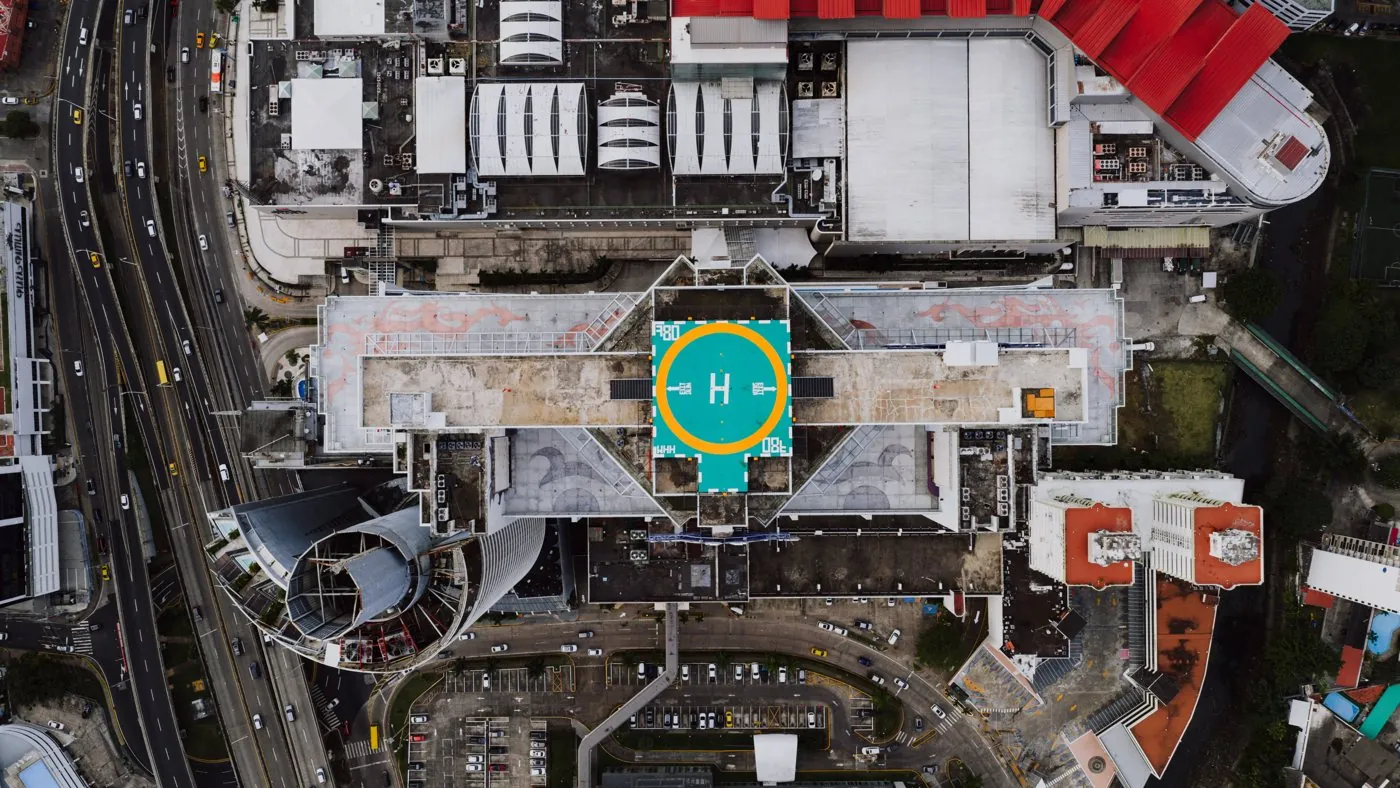
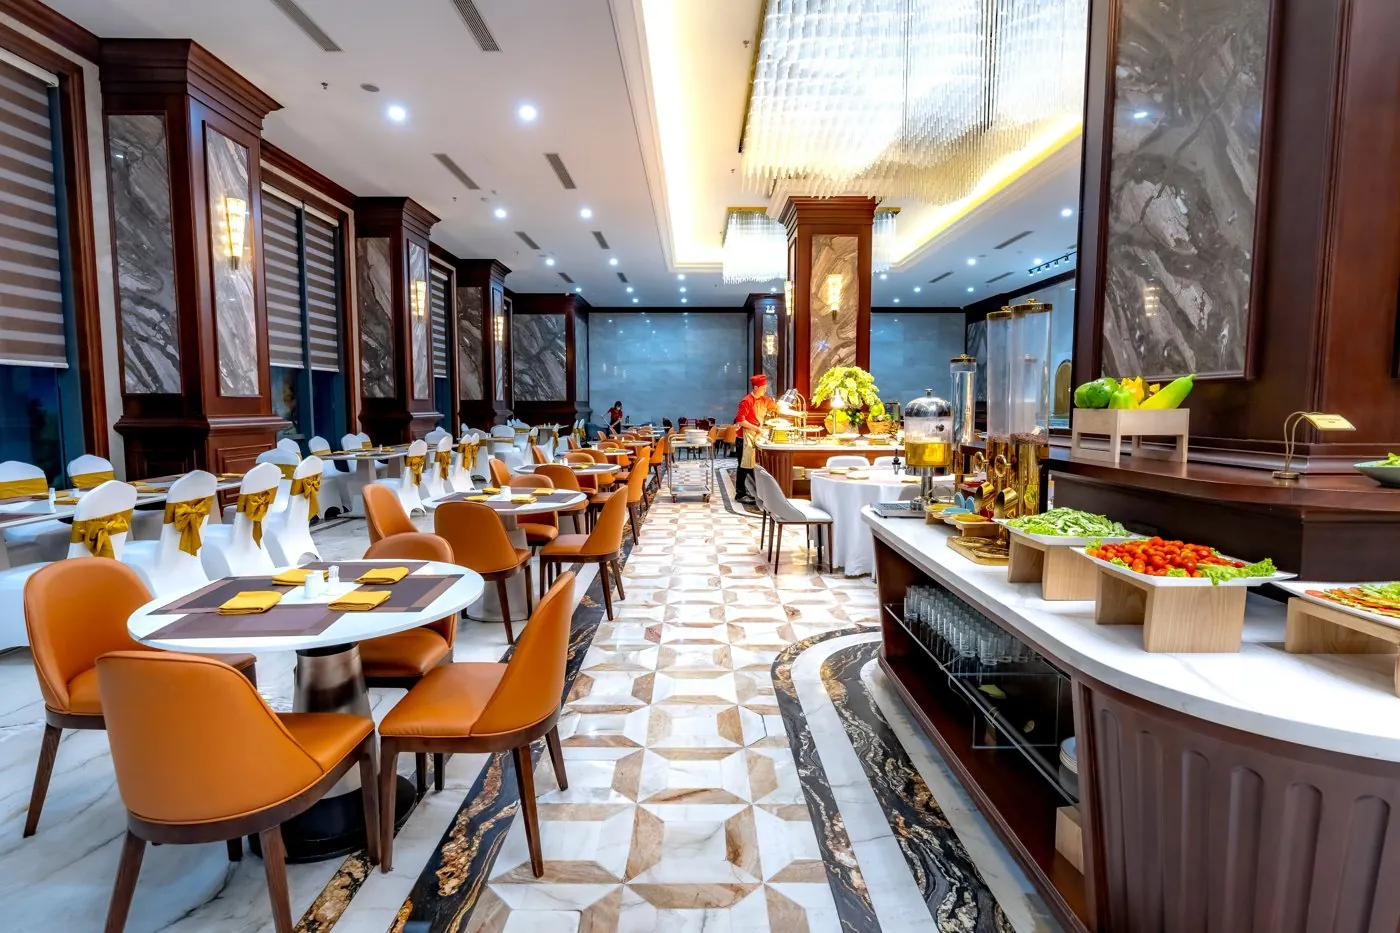
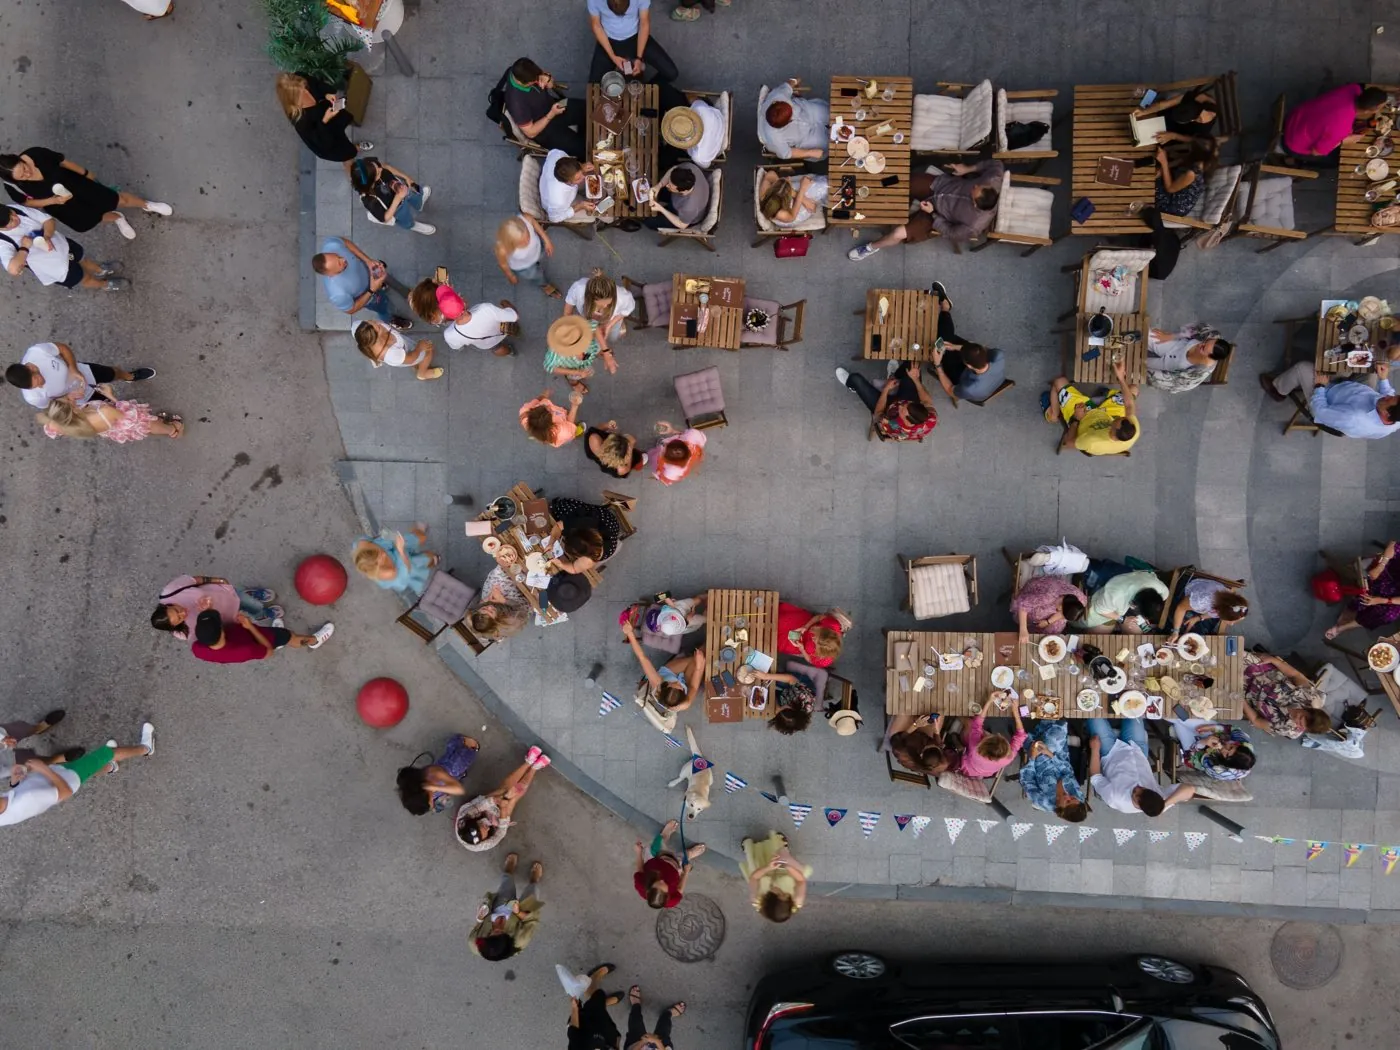
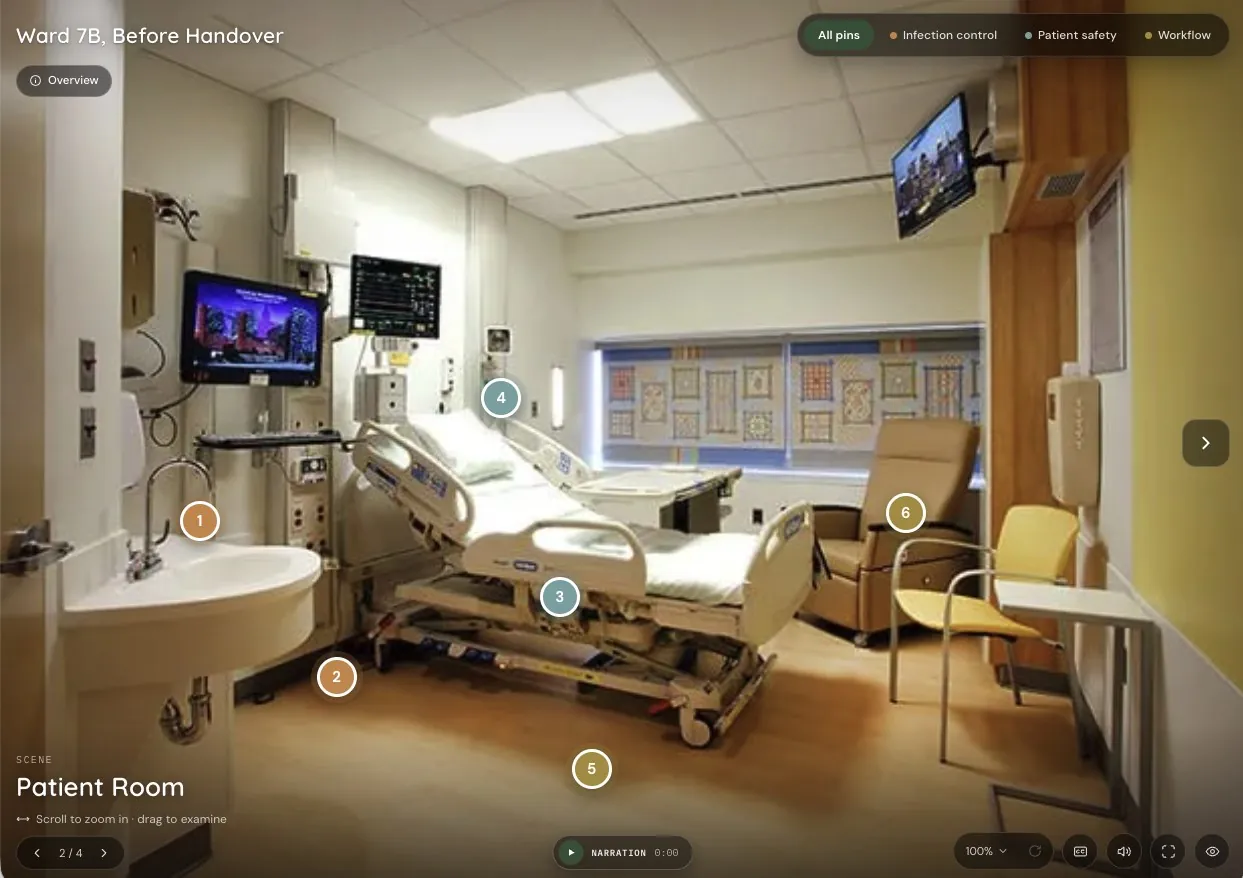
Every place you teach, ready to walk through.
Wards, plant rooms, site inductions and classrooms live together in one workspace. Start from a template, build each place as a sequence of scenes, and publish it to students the moment it's ready.
Start from a template
Begin with a template or a blank structure, then add the places your students need to see.
Every place, side by side
A ward, a plant room, a site induction, a classroom. Each one built as a sequence of scenes you can come back to.
Live when you publish
Share a link or embed it in your LMS. Every edit reaches your students the moment you save.
UNSW College is bringing Panova into its new applied degrees, where learning in real workplaces sits at the centre of the program.
Where it fits →If you teach with a place, you’ve met these.
A ward, a plant room, a site. The learning happens there. Then the work comes back as text on a screen, and the place it came from is nowhere in it.
How do I get students ready for a place before they meet it, so the first visit isn’t spent working out where to look?
The first visit goes to finding their feet.How do I show students what an experienced eye picks out in a space, when I can’t stand beside every one of them?
The experienced eye doesn’t scale.How do I tell whether a student’s work comes from the thing in front of them, or could sit on top of anything?
A description that could fit anything.How do I assess what a student noticed and why it mattered, not just how well they wrote about it afterwards?
Told, not shown.One scene. Three things students do with it.
The same ward can orient a student before placement, check what they remember after it, and hold what they bring back.
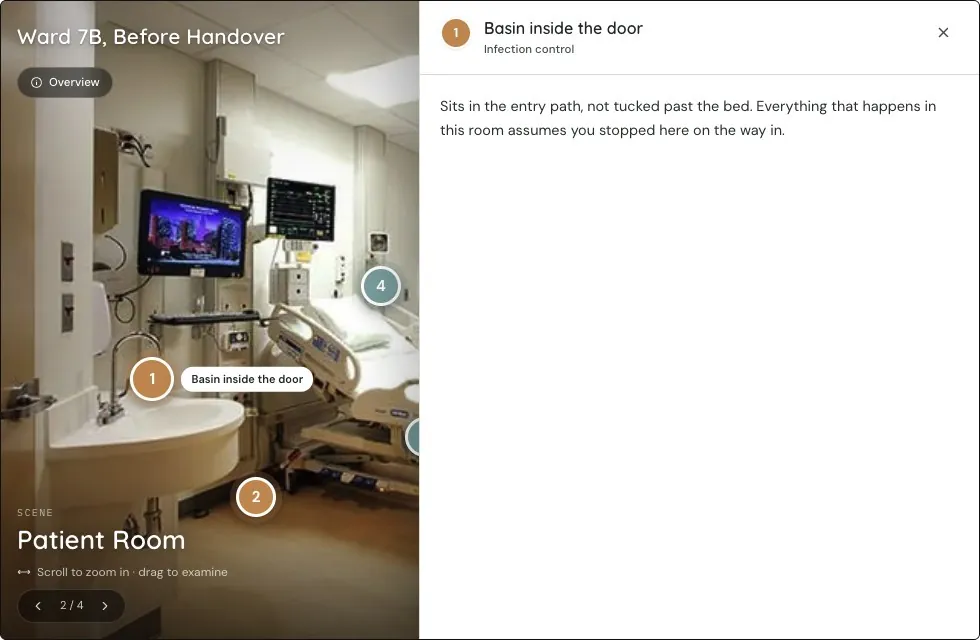
Explore it
Students walk the scenes, open the pins and hear the narration before they ever set foot on the ward.
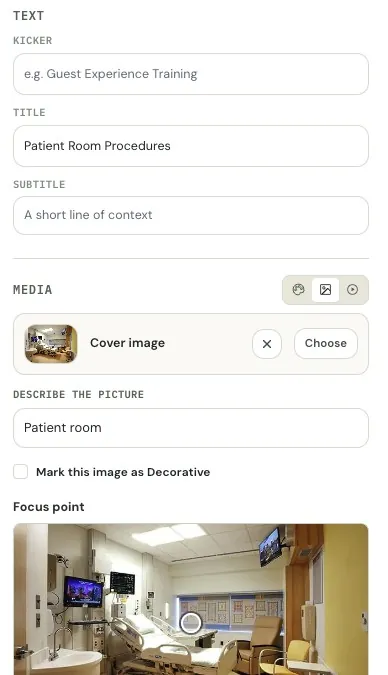
Show what they know
Pin the space from memory, spot the issue, sort pins into contexts, or work through a branching decision.
Students build their own copy
Bring back what they saw
Students add evidence at your pins, or build their own version of the experience from what they met.
One set of scenes. Every kind of activity.
Each activity is assembled from the scenes, pins and contexts you have already built. Nothing to rebuild, nothing to upload twice.
Students add their own work on top of yours.
Student versionsStudents duplicate the experience and build their own in a simplified editor.
Can students put things where they belong?
Wayfinding challengeStudents navigate from A to B using the jump links: spatial recall, not just recognition.
Do students understand how the pieces relate?
Order the sequenceStudents are handed your scenes out of order and put them back in sequence.
Can students spot problems and choose well?
Branching scenarioA decision pin offers choices, each jumping to a different scene.
Where do you want to start?
Build it once. Use it many ways.
Capture the place, pin what an experienced eye would notice, add your voice, and switch on the activities that fit.
See how you build →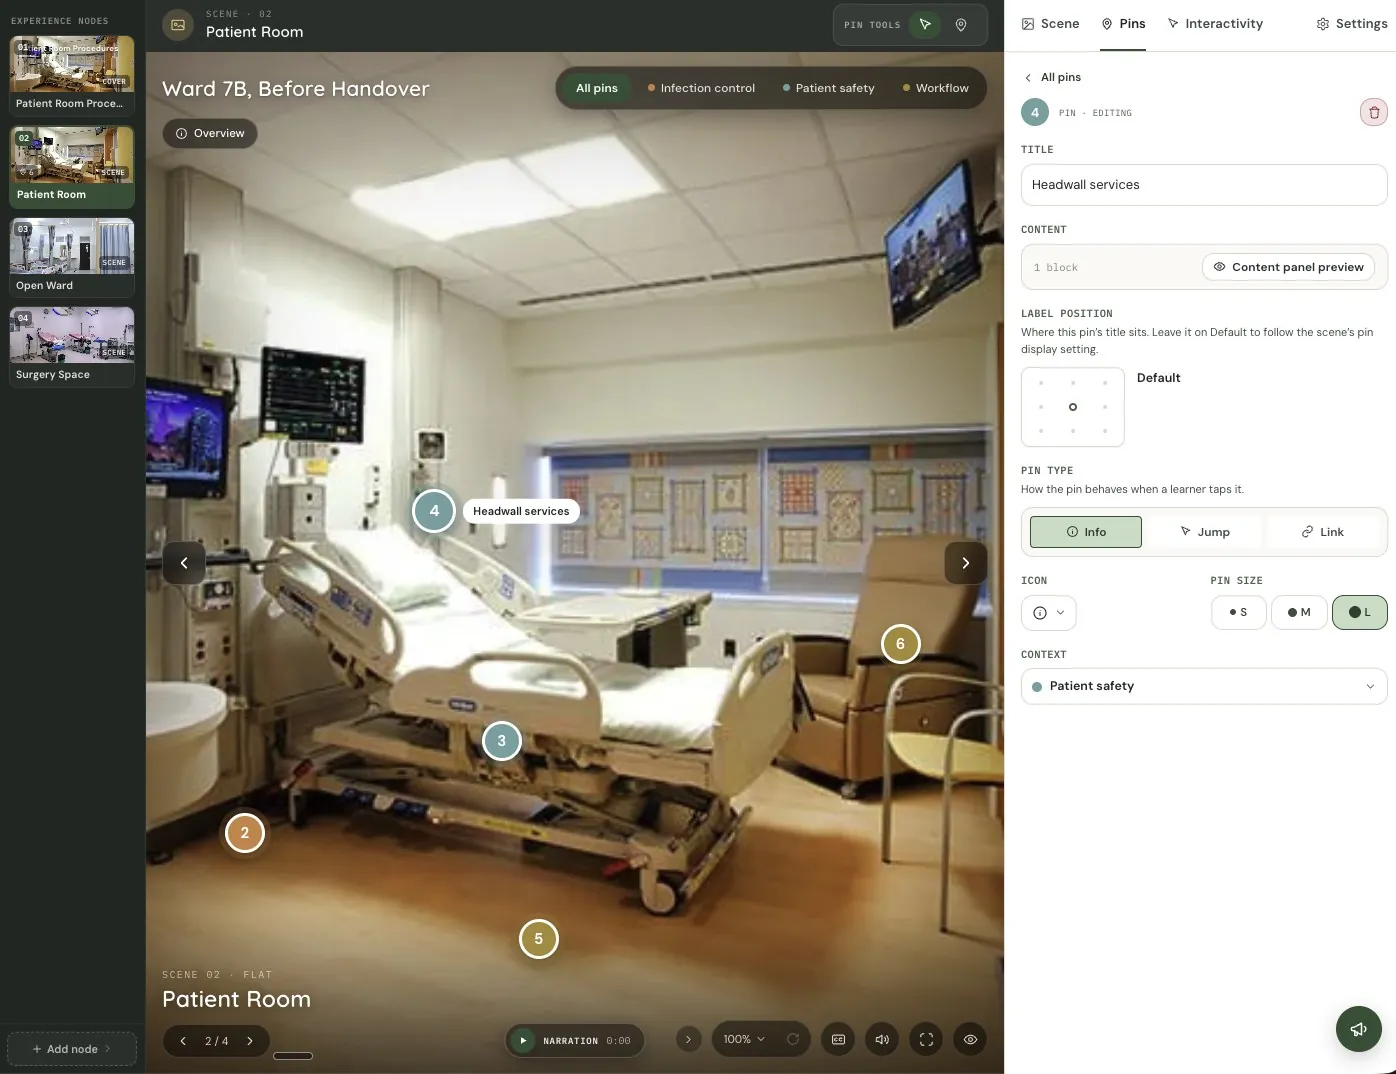
Explore it. Show it. Bring it back.
What your students actually do: walk the scenes, prove what they noticed, and hand back work that still carries the place.
See what students do →The same shift, whatever the place.
Wherever the learning happens in a real space, an image or a diagram, the scene keeps the reasoning where it belongs.
Standalone, or right inside your course.
Panova runs on its own. Send students a direct link, or place an experience on a page in your LMS so it sits inside the course.
Share a link
One direct link that always opens the current published version of the experience.
Embed it in a page
The same experience, sitting on a course page alongside everything else students use.
Accessible as you build
Describe every picture and every pin as you go. Panova shows your coverage as the experience grows.
What would your students’ work look like if it carried the place it came from?
Bring one place you teach with. We’ll talk through how it could work in your programs, scene by scene.
One place in a longer learning journey.
Panova works on its own. Paired with the other StackleHQ tools, the scene becomes part of a week, a reflection, a piece of work and a story students can come back to.
With Panova. Put the ward walkthrough in front of students the week before placement, not buried in week one.
Explore Thredly →The scene students explore, show what they noticed in, and bring their work back to.
With Panova. Ask students what they noticed, on the same course page as the scene, while it’s still fresh.
Explore Stackle →QuyerOpen authoring for learners and educatorsWith Panova. When students make something from what they saw, every version they build is kept.
Explore Quyer →Learner HubPart of StackleWith Panova. What they reflected on after the ward joins everything else they’ve written, across courses and years.
See the Learner Hub →